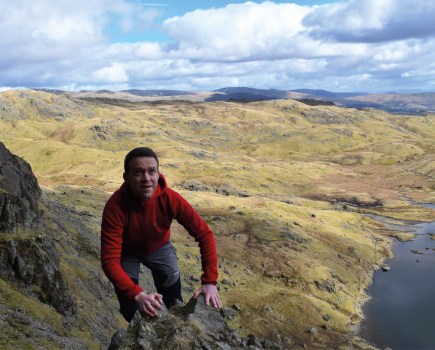
Expert tentmakers Hilleberg and The Great Outdoors gear editor Chris Townsend share their top tips for a better backpacking experience.
This advertising feature is sponsored by our friends at Hilleberg.
In a recent four issues of The Great Outdoors, iconic tent brand Hilleberg and long-distance walking legend Chris Townsend have discussed key aspects of backpacking.
The four-part series has demystified and untangled several important wild camping topics, including choosing the right type of tent for your needs, how to pitch your shelter correctly in cold and hostile conditions, and striking the right balance between weight and comfort.
In this round-up of the best advice and guidance, Chris and Hilleberg’s experts share their top 10 tips for a better backpacking experience.
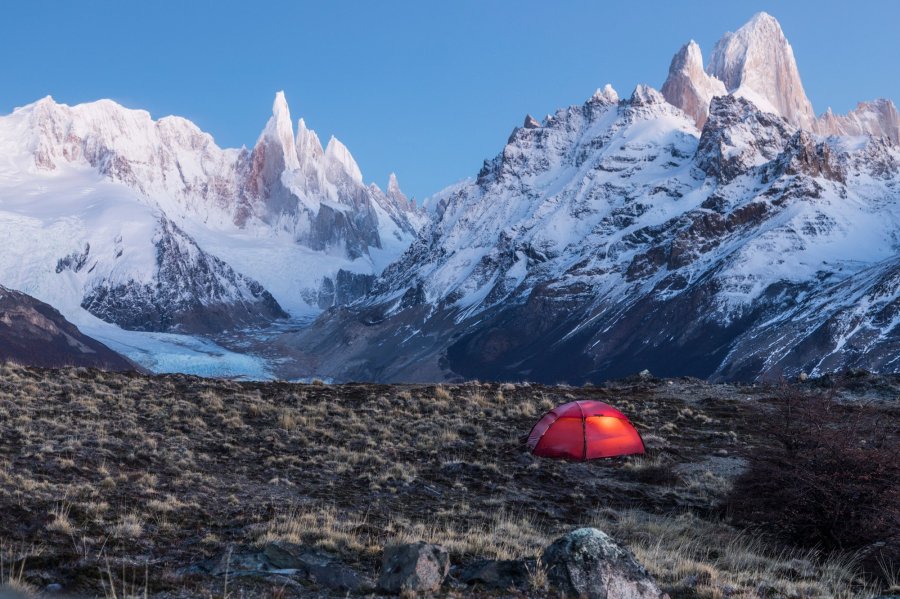
Will Copestake pitches the Hilleberg Allak in Patagonia. Photo: Will Copestake/willcopestakemedia.com.
1. Ensure your tent can stand up to the expected weather conditions
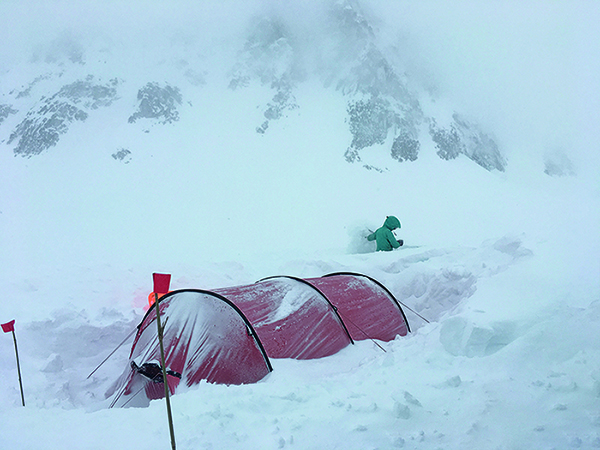
In deep snow, Hilleberg recommends digging to half the height of the tent to provide protection. Photo: Tyler Hislop/Glass Animals, Anchorage, Alaska.
Chris Townsend: The key with your shelter is that it should be capable of standing up to the expected weather conditions. An ultralight tent may be fine for lowland summer camping but unsuitable and even potentially dangerous for mountain camping in winter. Then there’s space. Can you sit up, stretch out, store all your gear, cook in the porch in bad weather? For short trips a tent without much room may be tolerable to keep the weight down. For long trips I’d rather have more space and a little more weight.
Hilleberg: Be honest about what margin of safety you’re fully comfortable with in your shelter choice. Some people are fine using a tarp year-round; others feel the need for a tent. The stronger your shelter, the more margin of safety you have in case something goes wrong (unexpected weather, injury, getting stuck out longer than expected, etc.). Hilleberg Black Label tents offer the greatest margin of safety because they are built to handle the most demanding conditions in all seasons. Red Label tents are also all-season models, and they are lighter, but they do sacrifice some margin (and some comfort). Yellow Label tents, which are built for snow-free use, are even lighter, and while they are very strong, they don’t offer the same safety margin as Black or Red Label tents.
2. Pick a sleep system that will keep you warm and cosy
Chris Townsend: A warm night’s sleep is essential for enjoying a trip. Shivering through a long night (and they always are long when you’re cold) is miserable. And hiking the next day when tired is dispiriting and could be hazardous if you find it hard to concentrate. For a good night’s sleep a sleeping bag and sleeping mat both need to be warm enough for the lowest likely temperatures. For comfort a thick inflatable mat is a good idea, though this isn’t necessary for warmth.
Hilleberg: Look at your gear as a whole, rather than as a bunch of stuff that you assemble. How do your layers work together? If you put on all the clothes you have, will you be able to weather the worst conditions you’ll encounter? Will your shelter and sleep system keep you comfortable in the worst conditions? Keep in mind that “comfort” is not a luxury; it’s the measure of how good (or bad) you’ll feel while you’re out, and it is tied to your overall safety.
3. Don’t over-pack – but don’t be scared to pack a luxury item or two
Chris Townsend: Clothing is an area where it’s easy to take more than you need. Other than socks and underwear duplicate items aren’t needed. Garments should all fit over each other so if it’s exceptionally cold you can wear them all.
Hilleberg: Balance the needs and the wants. When you’re out backpacking, you won’t have all the comforts of home (that’s part of the fun of being in the backcountry) but calculate what’s important to you. Adding 200g (or more) for extra comfort that will make your trip better (remember it’s your trip, not someone else’s) is good value for weight. Don’t be afraid to carry the pillow! A good night’s sleep means a better trip no matter what.
4. For solo use, opt for a single hoop tent
Chris Townsend: Tents with a single hoop in the centre are ideal for solo use as they have a good space-to-weight ratio and good headroom in the centre. Because the ends are low, good single hoop tents have short upright poles to increase the height here. With a good guying system single hoop tents can be surprisingly stable.
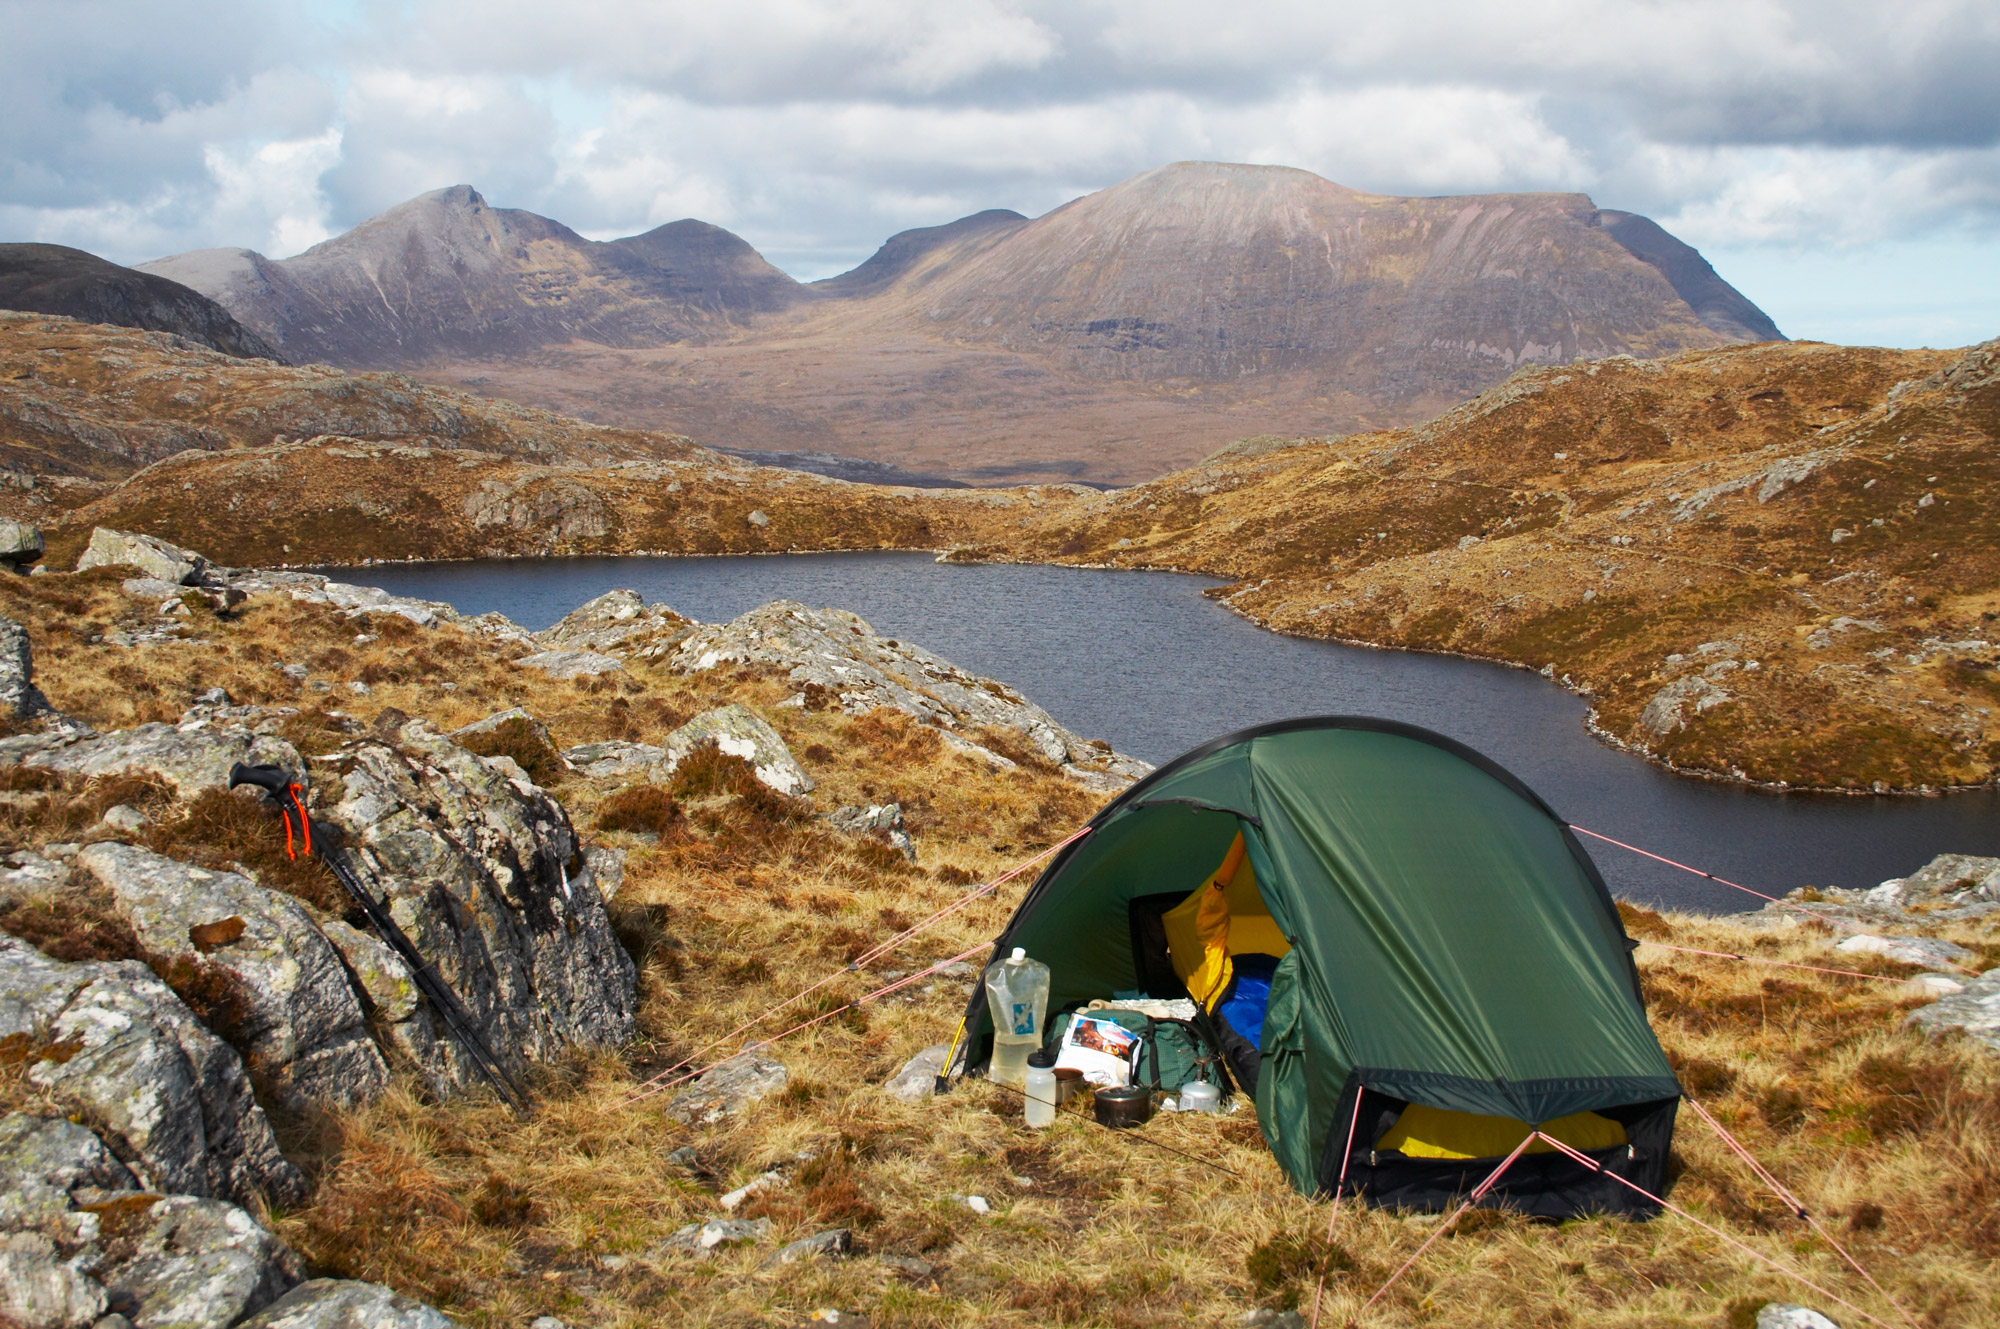
Chris Townsend putting the Hilleberg Akto to use in the north west Highlands. Photo: Chris Townsend.
Hilleberg: The Hilleberg Red Label Akto, introduced in 1995, was one of the first true all-season solo tents with both liveable space and light weight. Since then, the Akto has been used with great success all over the world in all climates, including on North and South Pole expeditions. Its very light three-season sibling, the Yellow Label Enan, is an ideal snow-free backpacking solo tent.
5. How you pack is up to you – come up with your own approach
Chris Townsend: Other items can be divided into the essential – e.g. map, compass, head torch, first aid kit – and the optional – e.g. camera, books. The latter may be regarded as essential by many (including me) even though they’re not needed for hiking or camping. But remember the aim is enjoyment so a few luxury items are a good idea.
Hilleberg: How often have you been out and someone is snacking on a nice bit of stilton, drinking some wine, and cooking up a piece of steak while you’re “enjoying” your freeze-dried spaghetti bolognese? How often are you squirming your butt in the dirt while your campmate pulls out a chair and sits with a sigh of contentment? Neither the stilton/steak/chair camper nor the freeze-dried butt squirmer are “right” or “wrong”, although there is, sadly, an undercurrent of conventional “outdoor wisdom” that says the important metric for success on a trip is more about the ‘suck factor’ than the fun quotient. How you pack is up to you. At the same time, choose wisely. That’s what we mean by ‘smartpacking’.
6. If you’re likely to encounter tough pitching conditions, opt for a fully freestanding dome-style tent
Chris Townsend: Dome tents have two or more flexible poles crossing each other at one or more points. In the simplest versions the poles cross at the apex of the tent. This gives excellent headroom but isn’t the most stable design as it leaves large unsupported panels of material. There are many types of domes with different pole configurations. Domes where the poles cross each other more than once can be very stable and stand up to high winds and heavy snow. Because of their structure, many dome tents are free-standing – they don’t need pegs or guy lines to keep their shape. However, except in calm weather they should still be pegged out to stop them blowing away. Domes have good headroom and a reasonable space-to-weight ratio. They are usually easy to pitch.
Hilleberg: Hilleberg’s Red Label Allak, for two or three, and the one-person Soulo models are perfect for nearly any adventure in any season. Fully free-standing with integrated vestibules, roomy and lightweight, these dome models have an ingenious, multi-crossing pole structure that provides geodesic-level strength. And the Black Label Soulo BL is perhaps the strongest solo tent out there.
7. Think about weight carefully – lightest doesn’t always mean best
Chris Townsend: The lightest tent is always best? Not necessarily. A tiny ultralight tent in which you get soaked from condensation before it blows down in a storm is not the best choice. Mountain camping in winter requires a different tent to summer camping in a forest (though if you’ll be doing both you need the mountain tent). Weight is more important on a long-distance walk than on shorter trips, but so are comfort and durability. Three factors determine the weight of a tent: its size, its design and the materials it’s made from. All three are important and need considering when thinking about weight. To determine the best size, best design and the best fabrics for your needs depends on when, where and for how long you’ll be using it.
Hilleberg: Choosing your tent just because it’s the lightest one is rarely a good idea. We build all our tents so that their performance attributes – reliability, adaptability, ease of use, durability and comfort – are optimally balanced at the lowest appropriate weight for the tent’s intended use. For us, ‘comfort’ is the measure of a tent’s overall function. Does it keep you dry and offer the best margin of safety for the worst conditions you will encounter? Does it have the right amount of room for you? Does it offer good venting capability in all the types of weather you will encounter, and is it easy to set up in all the terrain and conditions you go out in? In general, the lighter the tent, the less comfort it will likely offer – and possibly the less security it will give you in adverse conditions.
8. Don’t be afraid to size up
Chris Townsend: Backpacking tents range from tiny solo tents too low to sit up in to big domes and tunnels that’ll take four people and all their gear. The first is by far the lightest of course, but not everyone is happy with such limited space – especially on multi-night trips (I once met someone on a long-distance walk who’d swapped their ultralight bivvy tent for a much heavier two-person dome). This is especially so in the long, dark nights of winter. Small tents, whether solo or for two or three, require more effort to live in. Gear needs to be organised better and care should be taken not to push against the walls and transfer any condensation to your clothing or sleeping bag (and condensation tends to be more copious in small tents). Extra weight means extra room. Which is most important?
Hilleberg: Don’t be afraid to size up. Most of our three-person tents weigh relatively little more than their two-person counterparts. For example, our all-season three-person Kaitum 3 weighs just 300g more than the Kaitum 2; and the three season, three-person Anjan 3 GT, with its extra spacious extended vestibule, weighs only 600 grams more than the two-person Anjan 2 with a standard-sized vestibule. For a small weight gain you get greater comfort and liveability.
9. Learn how to pitch your tent correctly, whatever the weather

A green Jannu is Peter Schön’s home on a mountaineering adventure in the Caucasus Mountains. Photo: Peter Schön/www.ps-photo.net.
Chris Townsend: To stop your tent blowing away in strong winds, peg down one end securely before inserting any poles or laying the tent out. In extremely strong winds kneel on the tent to hold it down while you peg out one end (it can also help to loosely peg down the other end) before inserting the poles, and then pull out the other end and properly peg it down. With tents that clip onto the poles, such as many dome tents, it’s usually possible to peg out the tent and insert the pole ends before attaching the clips. Never pitch a tunnel tent side-on to the wind. With other designs, the door should be away from the wind.
Hilleberg: For Hilleberg tunnel tents, make sure to get a good stretch of the ridge line when you pull out and peg the tent. One school of thought says to pitch tunnel tents with the rear into the wind, but for our one-entrance tunnel tents, like the Nallo, Nammatj and Anjan, we recommend pitching the vestibule end into the wind; this keeps the rear wall from pushing down on your feet and increases ventilation and strength. On two-entrance tunnel models like our Kaitum, Keron and Helags, with a vestibule at either end, position either end into the wind. On any tent, make sure doors are closed before pitching. A good habit: close the doors every time you take down the tent so it’s ready for next time.
10. Be careful to keep the inner dry
Chris Townsend: Fill up water containers and do any other outside chores before entering the tent. If your outer clothing is wet, strip this off in the porch. A small sitmat is useful for kneeling on to do this. The idea is to keep any damp gear out of the inner tent so it stays as dry as possible.
Hilleberg: On all Hilleberg tents, you can disconnect a corner (or more) of the inner tent from the outer tent to create extra vestibule space. By disconnecting most of the inner tent attachment points and pushing the inner tent back, you create a great space for people to gather out of the storm without getting the inner tent wet. In addition, in truly wet conditions, when you take down your tent you can disconnect the inner tent completely and store it separately in your pack. When you reach the next camp spot, set up the outer tent as you would the complete tent, then climb into the protected space and re-attach the still-dry inner tent.

