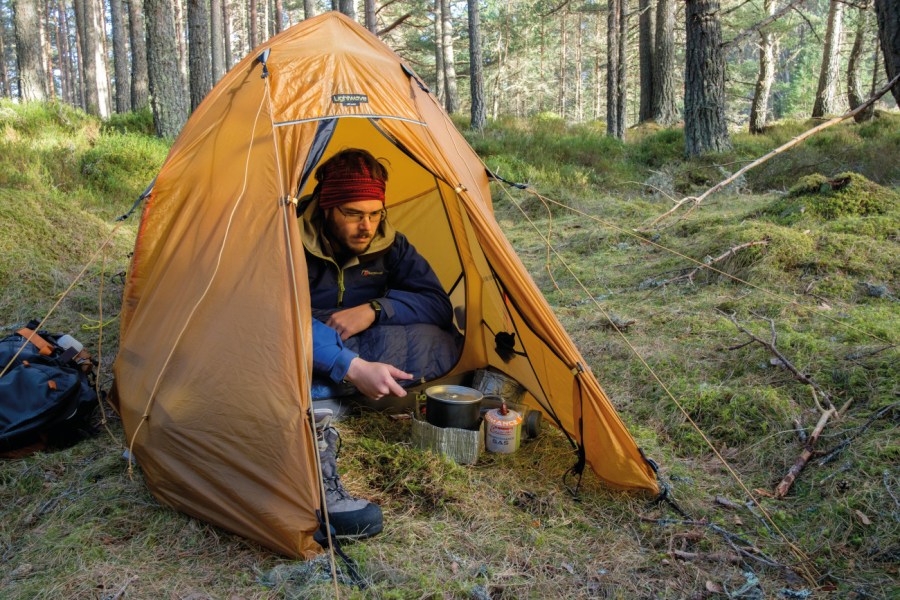
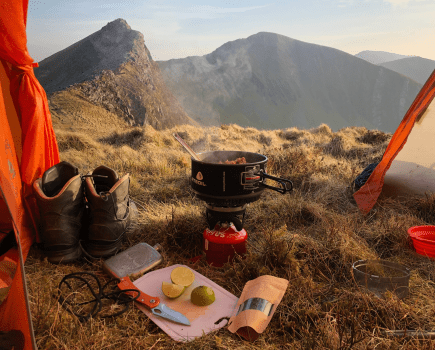
Getting the perfect pitch when wild camping can be more complex than you think. Alex Roddie has a few tips to help you on your way.
Your own 5,000,000 star hotel sounds perfect, right?
Finding the right tent pitch is an essential skill for wild camping and backpacking. In good weather, there’s nothing better than enjoying a golden sunset or a coffee at dawn from the comfort of your sleeping bag after you’ve pitched a tent in the perfect place. But the best spot isn’t always the most Instagrammable – other factors besides aesthetics are important, especially if the climate isn’t cooperating.
But even if the weather is poor, with the right equipment and planning you can still have fun and stay safe.
1) Planning where to pitch a tent
Finding the right pitch will start well before it’s time to put the tent up. How far do you expect to walk today? Consult the map – what’s the terrain like ahead? Where is the nearest water source? Think about your timing, so that you arrive at a likely spot around the time you’d like to finish for the day.
What does a likely spot look like? First, look out for flat ground, somewhere not too rocky or boggy. In windy weather, avoid exposed areas such as summits, cols, or ridges.
Valley bottoms can be marshy or tussocky, or bad for midges; better spots can often be found a little higher up.
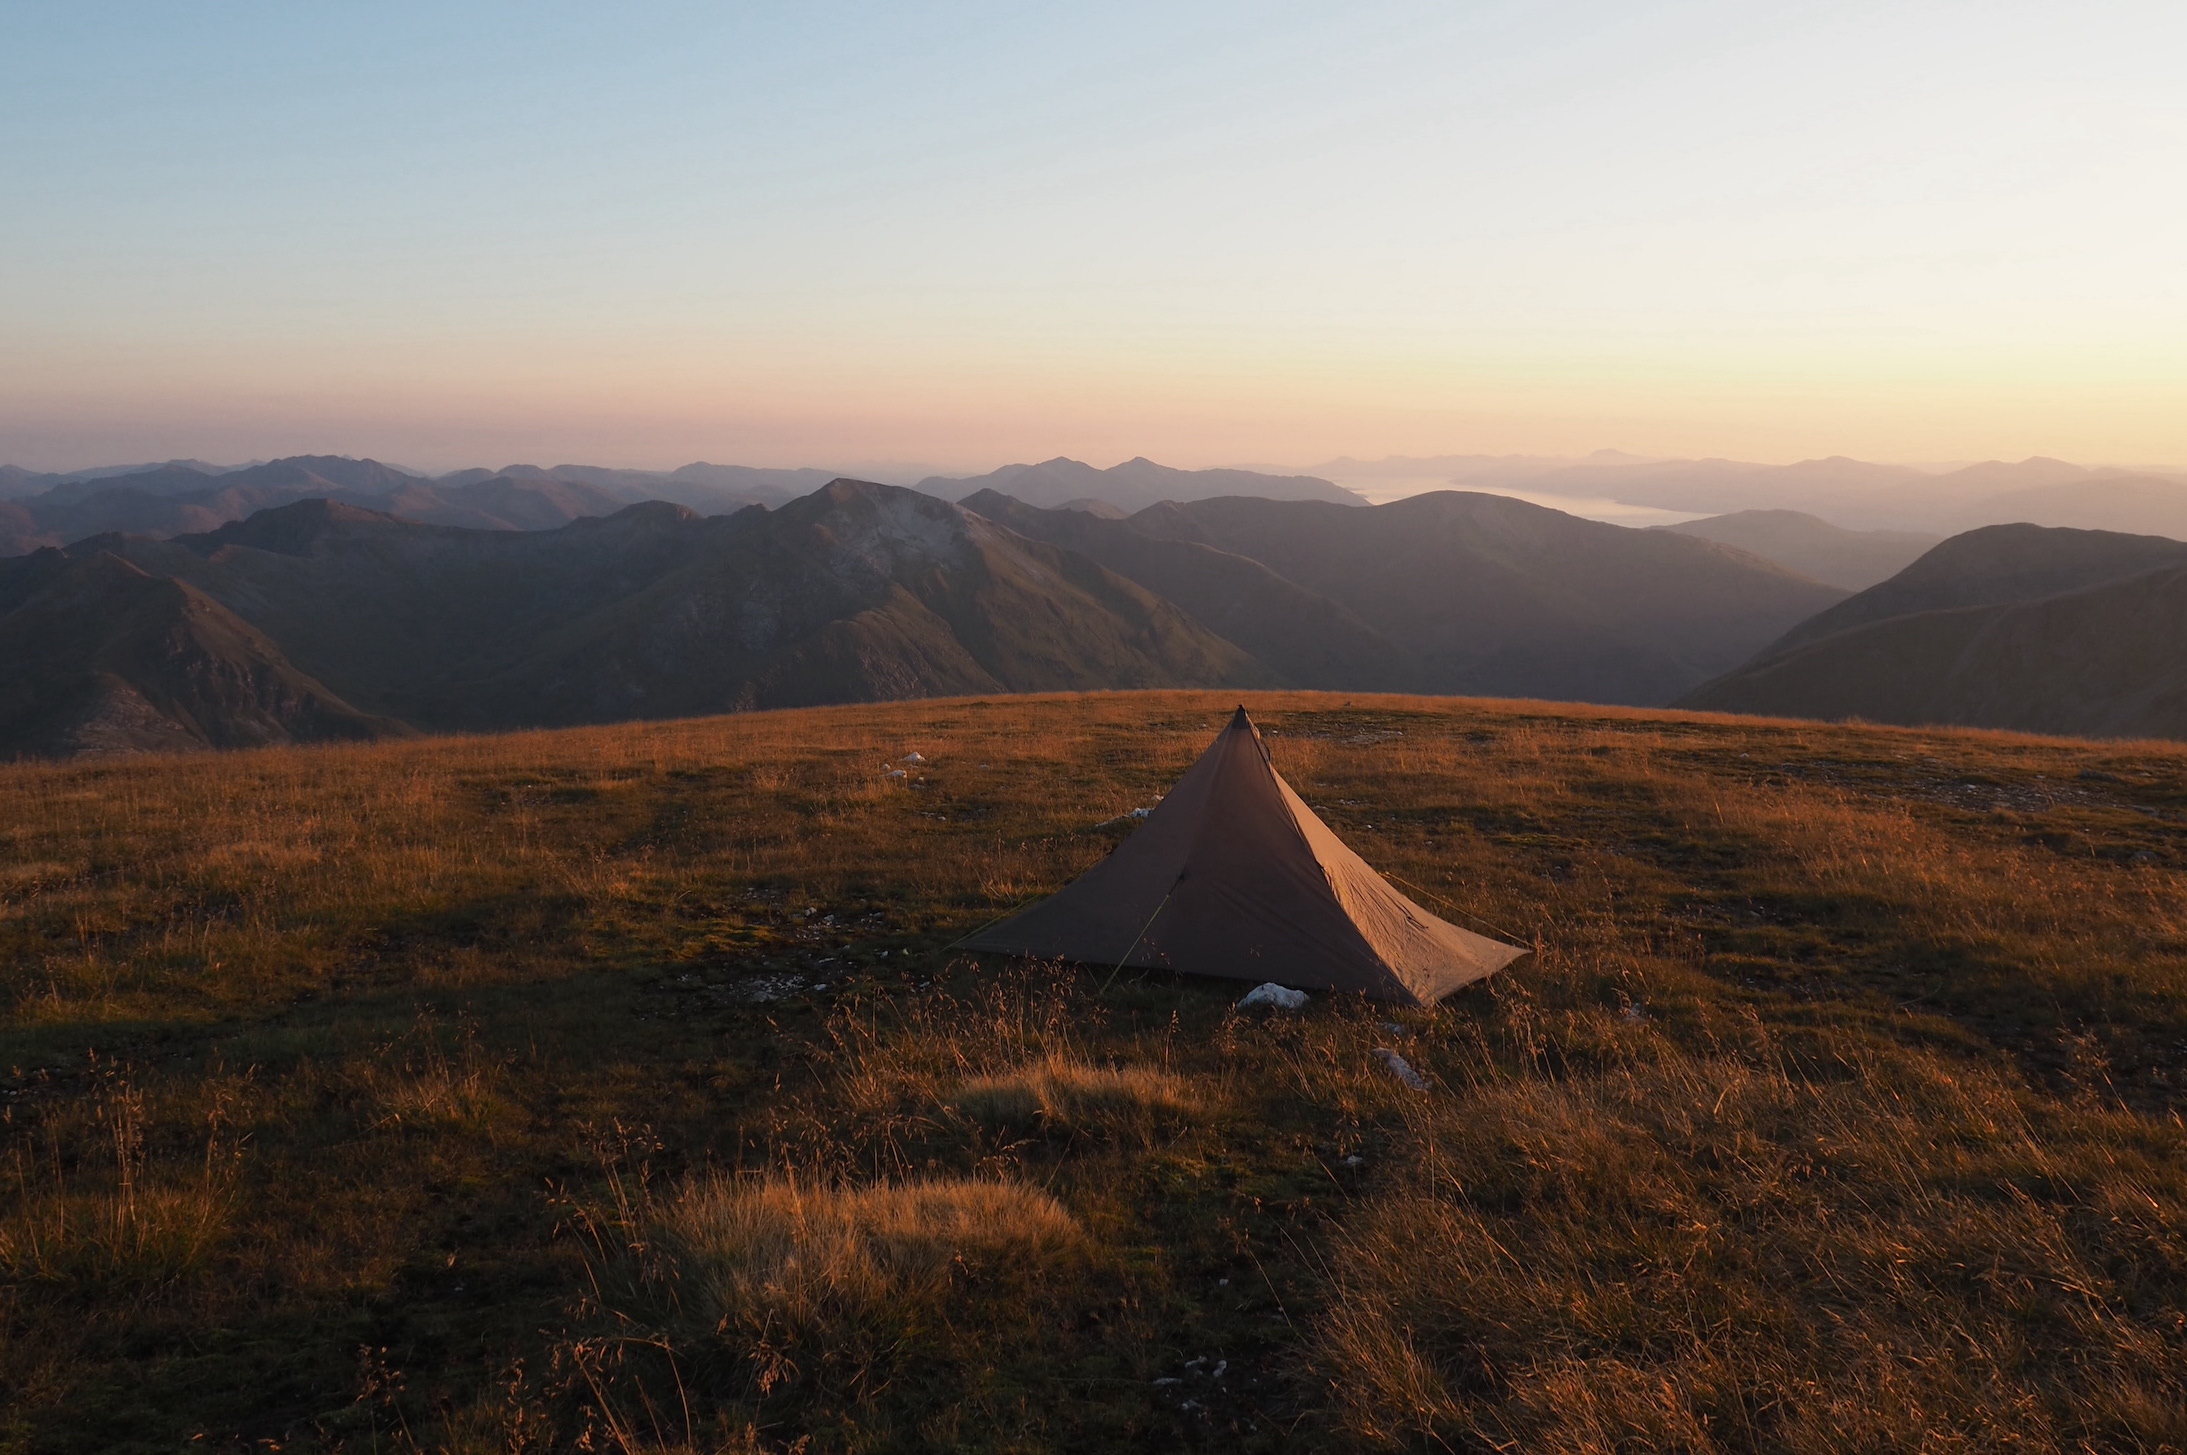
Calm weather means more scope for good views – like this idyllic camp on the summit of Aonach Beag. Photo: Carey Davies
Ridge camps are often superb in better weather (you’ll usually get less condensation and fewer midges too) – but ridge lines and summits usually mean you’re further away from water sources, so you may need to plan ahead and fill up in advance of your camp. There are often good, sheltered spots in forests, although dense undergrowth can complicate things.
If your trip coincides with a good weather window, finding a sheltered spot is less likely to be needed, and you can focus on getting a good view.
Look for flat areas on ridges; some summits are also suitable. Always be prepared to move on and find somewhere else if your planned pitch isn’t ideal when you get there – or if the weather is worse than expected.
Finally, be familiar with your gear. Do a test pitch at home before heading for the hills and make sure you have all the pegs and guy lines you need. Carry a spare peg or two!
2) Finding the right spot to pitch a tent
When you arrive at your chosen spot, check the ground from every angle. A 100% flat pitch is extremely rare, but a slight slope can be accommodated.
You will usually be more comfortable with your head raised above your feet. However, most tents resist wind better when pitched in a particular orientation.

A likely spot on a ridge line in good weather. Photo: Alex Roddie
Know how yours performs and find a compromise between minimizing the wind and any slight slope. If rain is forecast, avoid dips as they may collect water.
Check the ground. Hard ground can be uncomfortable to sleep on if you have a foam mat. Stony ground can be difficult to get pegs into and avoid ground boggy enough to squeeze water out of when you step on it!
Tussocks can also be awkward and uncomfortable, and in woodland don’t camp under rotten branches, especially in high winds. Embedded rocks are best avoided, as they may damage your tent or guy lines, and ground with lots of sharp, small rocks can present a puncture hazard for lightweight inflatable sleeping mats.
The ideal surface is close-cropped, firm, well-drained grass, although this too can be a bit of a rarity, so make the best of what you find. Any stones or woody ground cover you clear from your pitch site should be returned in the morning.
Check the ground for ticks with a hand. If you find any, move on.
Lastly, don’t let perfect be the enemy of good! It’s easy to keep rejecting possible pitches until it’s dark and you’re out of options. If it’s time to camp and you’ve found somewhere that works, use it.
3) Pitching
This is obviously best done in daylight, making it easier to check the ground and not to lose gear.
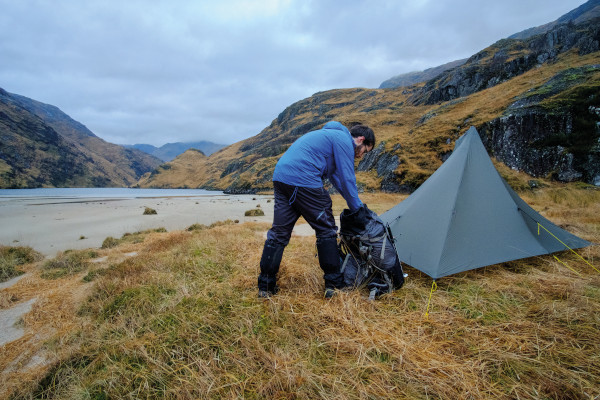
Flat, well-drained spots can often be found near lochs or rivers. Don’t pitch too close to the water in wet weather. Photo: Alex Roddie
Put your rucksack well away from where you’re putting up your tent (I always have to move them at least once) and if it’s windy, tuck away loose items like jackets and stuffsacks.
Lay the tent out on the ground and put in at least one peg at the windward end immediately – this will stop it from blowing away in a rogue gust!
To help pegs penetrate hard or rocky ground, a rock can be used as a mallet. Avoid kicking a peg as you may break it.
4) Bad weather
In high winds, speed and efficiency are key – the more your tent flaps around, the more likely it is to be damaged. Get the tent up and adjust all guy lines to ensure a taut pitch and double-check everything before bed.
If it’s very windy, don’t be afraid to pack up and head downhill to a more sheltered spot.
Outer-pitch-first tents (or tents that pitch as one) are best in wet weather as they help to keep your sleeping area dry. If your gear’s soaked, leave it in the porch – and try to keep the porch ventilated to keep condensation at a minimum.

